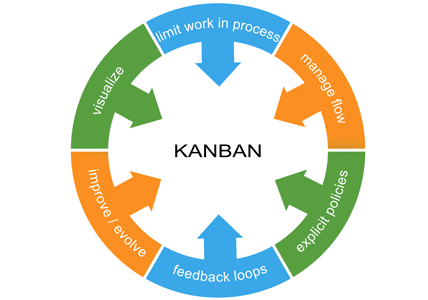
As we mentioned in our previous post, a kanban board system is a simple way to visualize your workflows and quell the chaos that often clouds projects.
The word “kanban” is Japanese for “visual card.” It’s a solution that allows team members to visualize the workflow for a particular project all in one place, including everything that needs to get done and all the tasks coming down the pipeline.
Because the kanban system uses sticky notes and allows teams to visually track tasks, there’s also an added level of transparency to projects.
Whether your chosen kanban board solution is digital or a simple whiteboard, the basic configuration is essentially the same and can be scaled up to meet a company’s needs. And modern kanban solutions, such as online kanban boards and kanban software, can alleviate the workload for over-stressed project managers while creating a sleek, collaborative workflow for team members.
Setting up a kanban system is simple and scalable for almost any project.
Examine Your Workflow
Teams can create a kanban board to cover the workflow of a single department or they can span an entire multi-national company. Managers must take a long, hard look at the processes in place for their project. Does each step in a workflow add value, or can you easily excise it without affecting the quality of the product or service?
The examination is a great opportunity to streamline processes as part of preparing a kanban system to suit that workflow.
Create Your Columns
In its most basic form, a kanban is often created on a big whiteboard, with three columns and sticky notes in each column signifying various tasks. Generally the three columns, include “To Do,” “Work In Progress,” and “Completed.” Teams can rename and customize these columns based on their needs and the project according to the workflow mapping they did earlier in preparation.
For example, you can create additional columns, such as a backlog lane for tasks that are ideas from different areas of the organization but have not been prioritized into the To Do column, or add job estimate and cost approval columns depending on the type of workflow gates you have created.
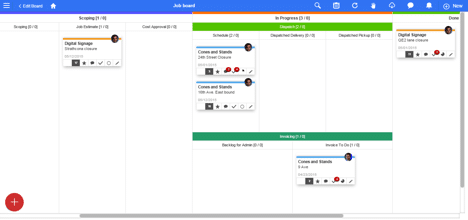
Define Your Swimlanes
In some cases, it is important to identify swimlanes for different types of the workflow. Let’s say for example, after work is put into staging column, it may either go to the dispatch or the invoicing for processing. By creating a swimlane, the work can be divided between one of these two groups.
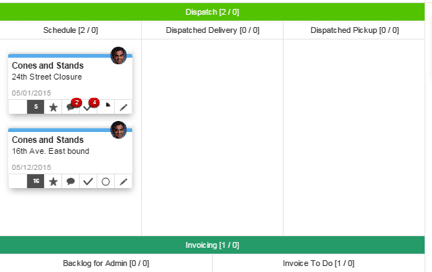
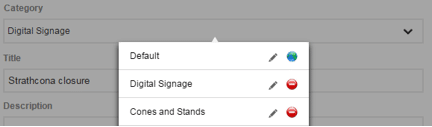
Identify Your Card Categories
Now that you have identified your workflow and subdivided work within swimlanes, it’s important to further group your work by category. A category is simply a type of group that gets assigned a specific sticky note color. This can be by subject, like materials, or types of marketing content like public relations materials, blogs, or group teams such as engineering, production, operations. Grouping these types of cards allows teams to visually see what grouping has the most types of work.
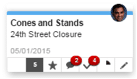
Plug In Your Tasks
Once you’ve established your customized your columns, swimlanes and categories, it’s now time to identify your project’s tasks. Label each sticky note with a task, and place it in the corresponding column on the board. Depending on your choice of using a whiteboard or kanban board software, each sticky note or task can be assigned to a particular team member as their responsibility.
And as a team member works on a particular task, that kanban card can be moved form one column to another, representing its journey toward completion.